Accordion Repairs in Progress
Photos of repairs in progress
Repairs by Keith Sawyer of The Accordion Place
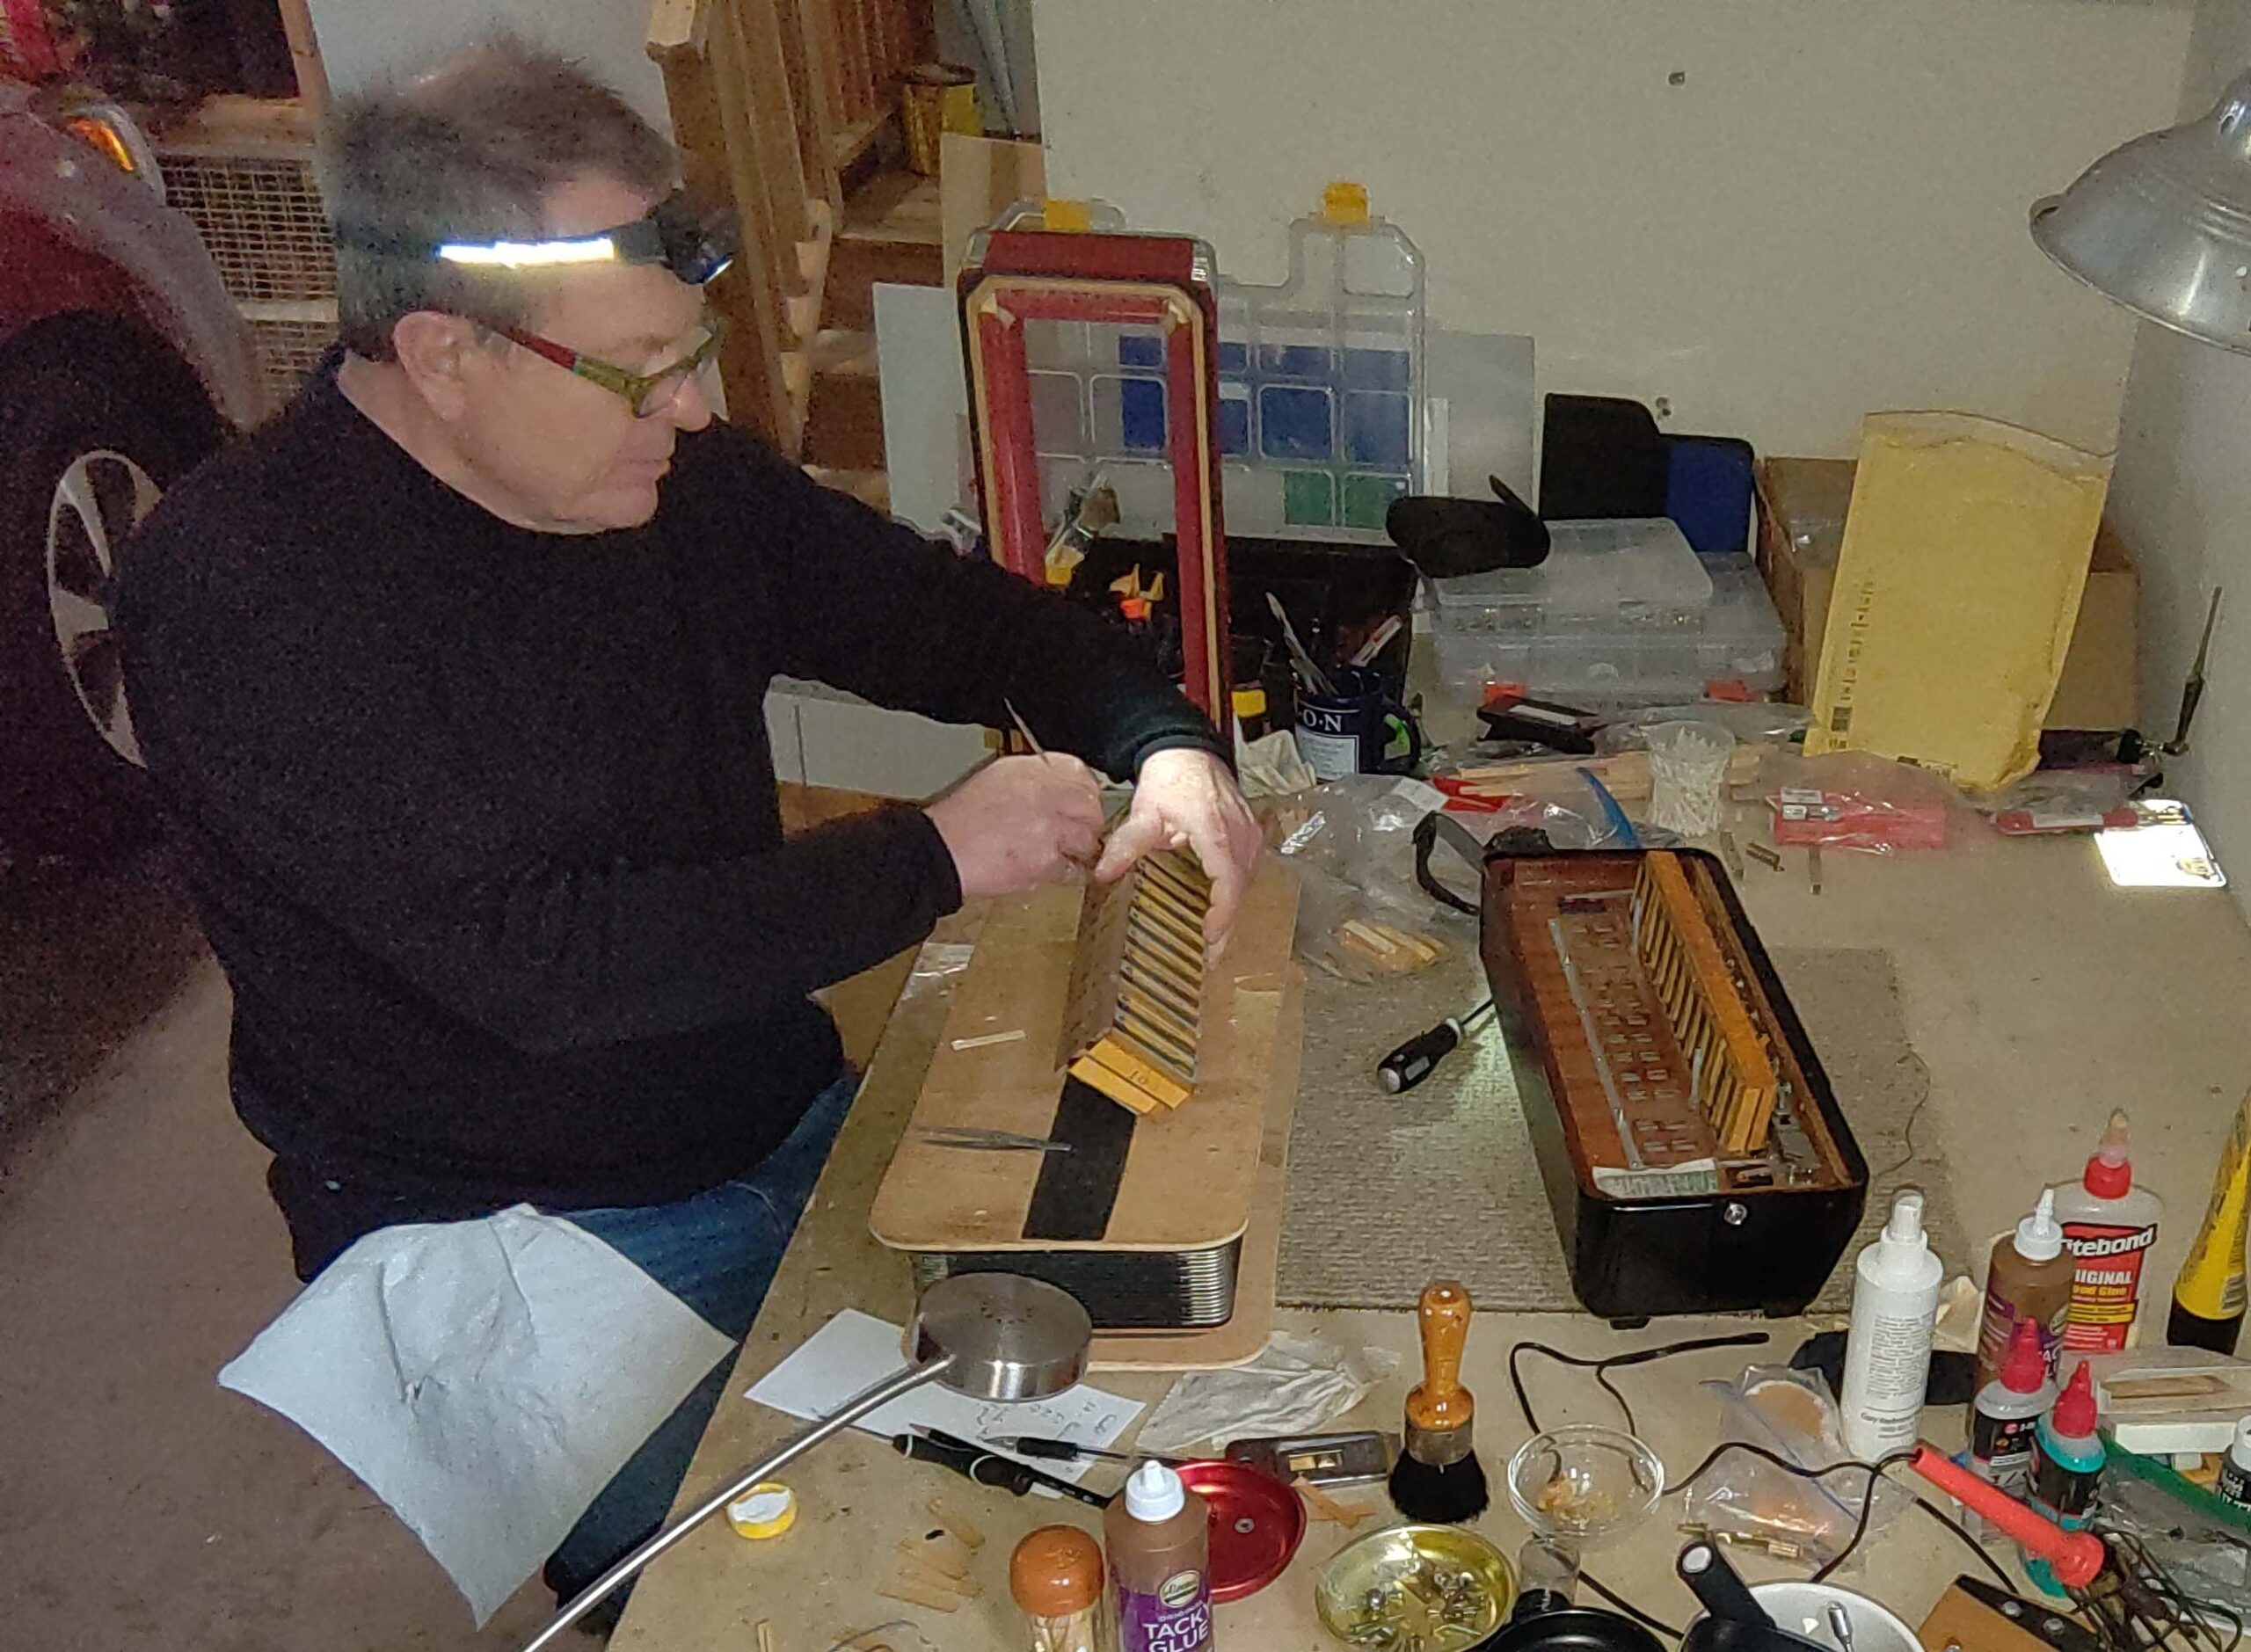
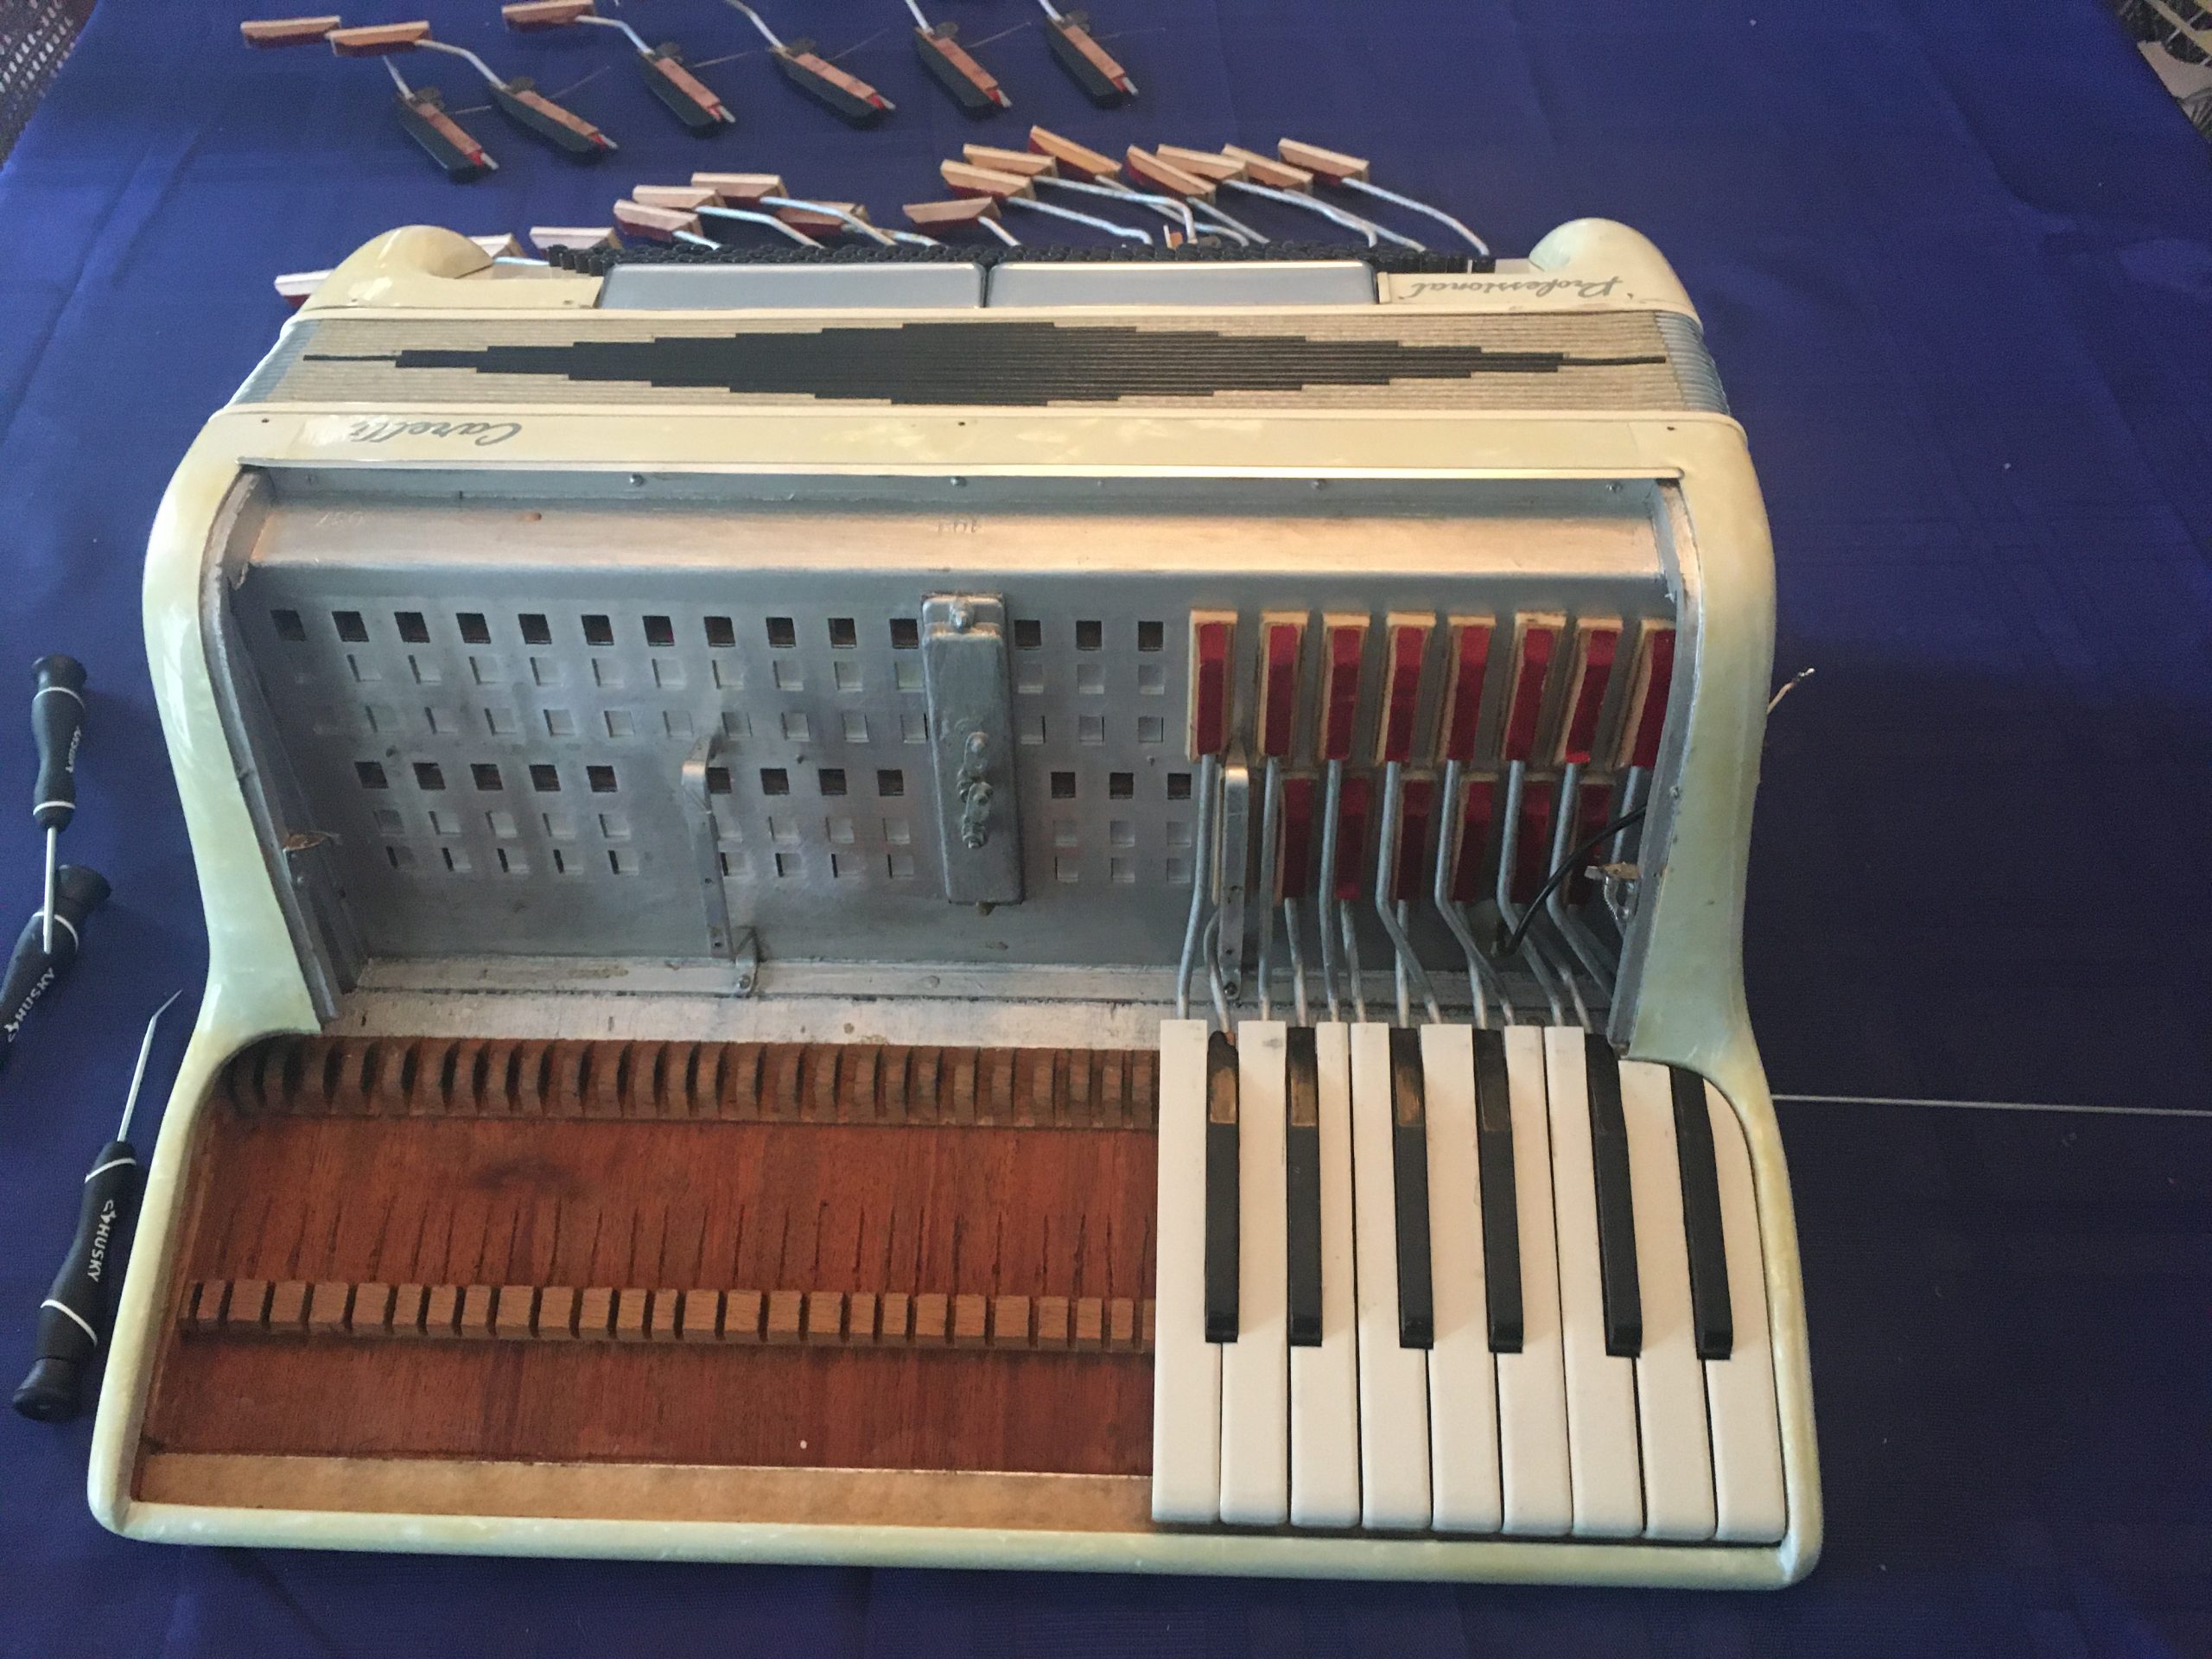
Below is my workbench, showing all of the disassembled parts of a bass machine. I’m in the middle of a long and complex bass machine rebuild of a Titano Emperor free-bass converter. This is the most complicated bass mechanism I’ve ever seen. (For accordion repair geeks: it has 7 bass reed sets and 3 sets of 12 pipes.) At the right of the photo you can see the organizer board that I made to hold all 120 button pistons–it has 6 rows of 20 holes. This is another one of those repair items that you have to make yourself. Every one of the 120 pistons can only fit into one place in the bass machine. If you don’t keep track of where everything goes, you will be in big trouble! It’s not unusual for me to get an accordion in the shop where a previous repairman put the pistons in incorrectly and some of the buttons are playing the wrong chords. In my diagnosis I check every single one of the buttons to confirm they play the right chords.

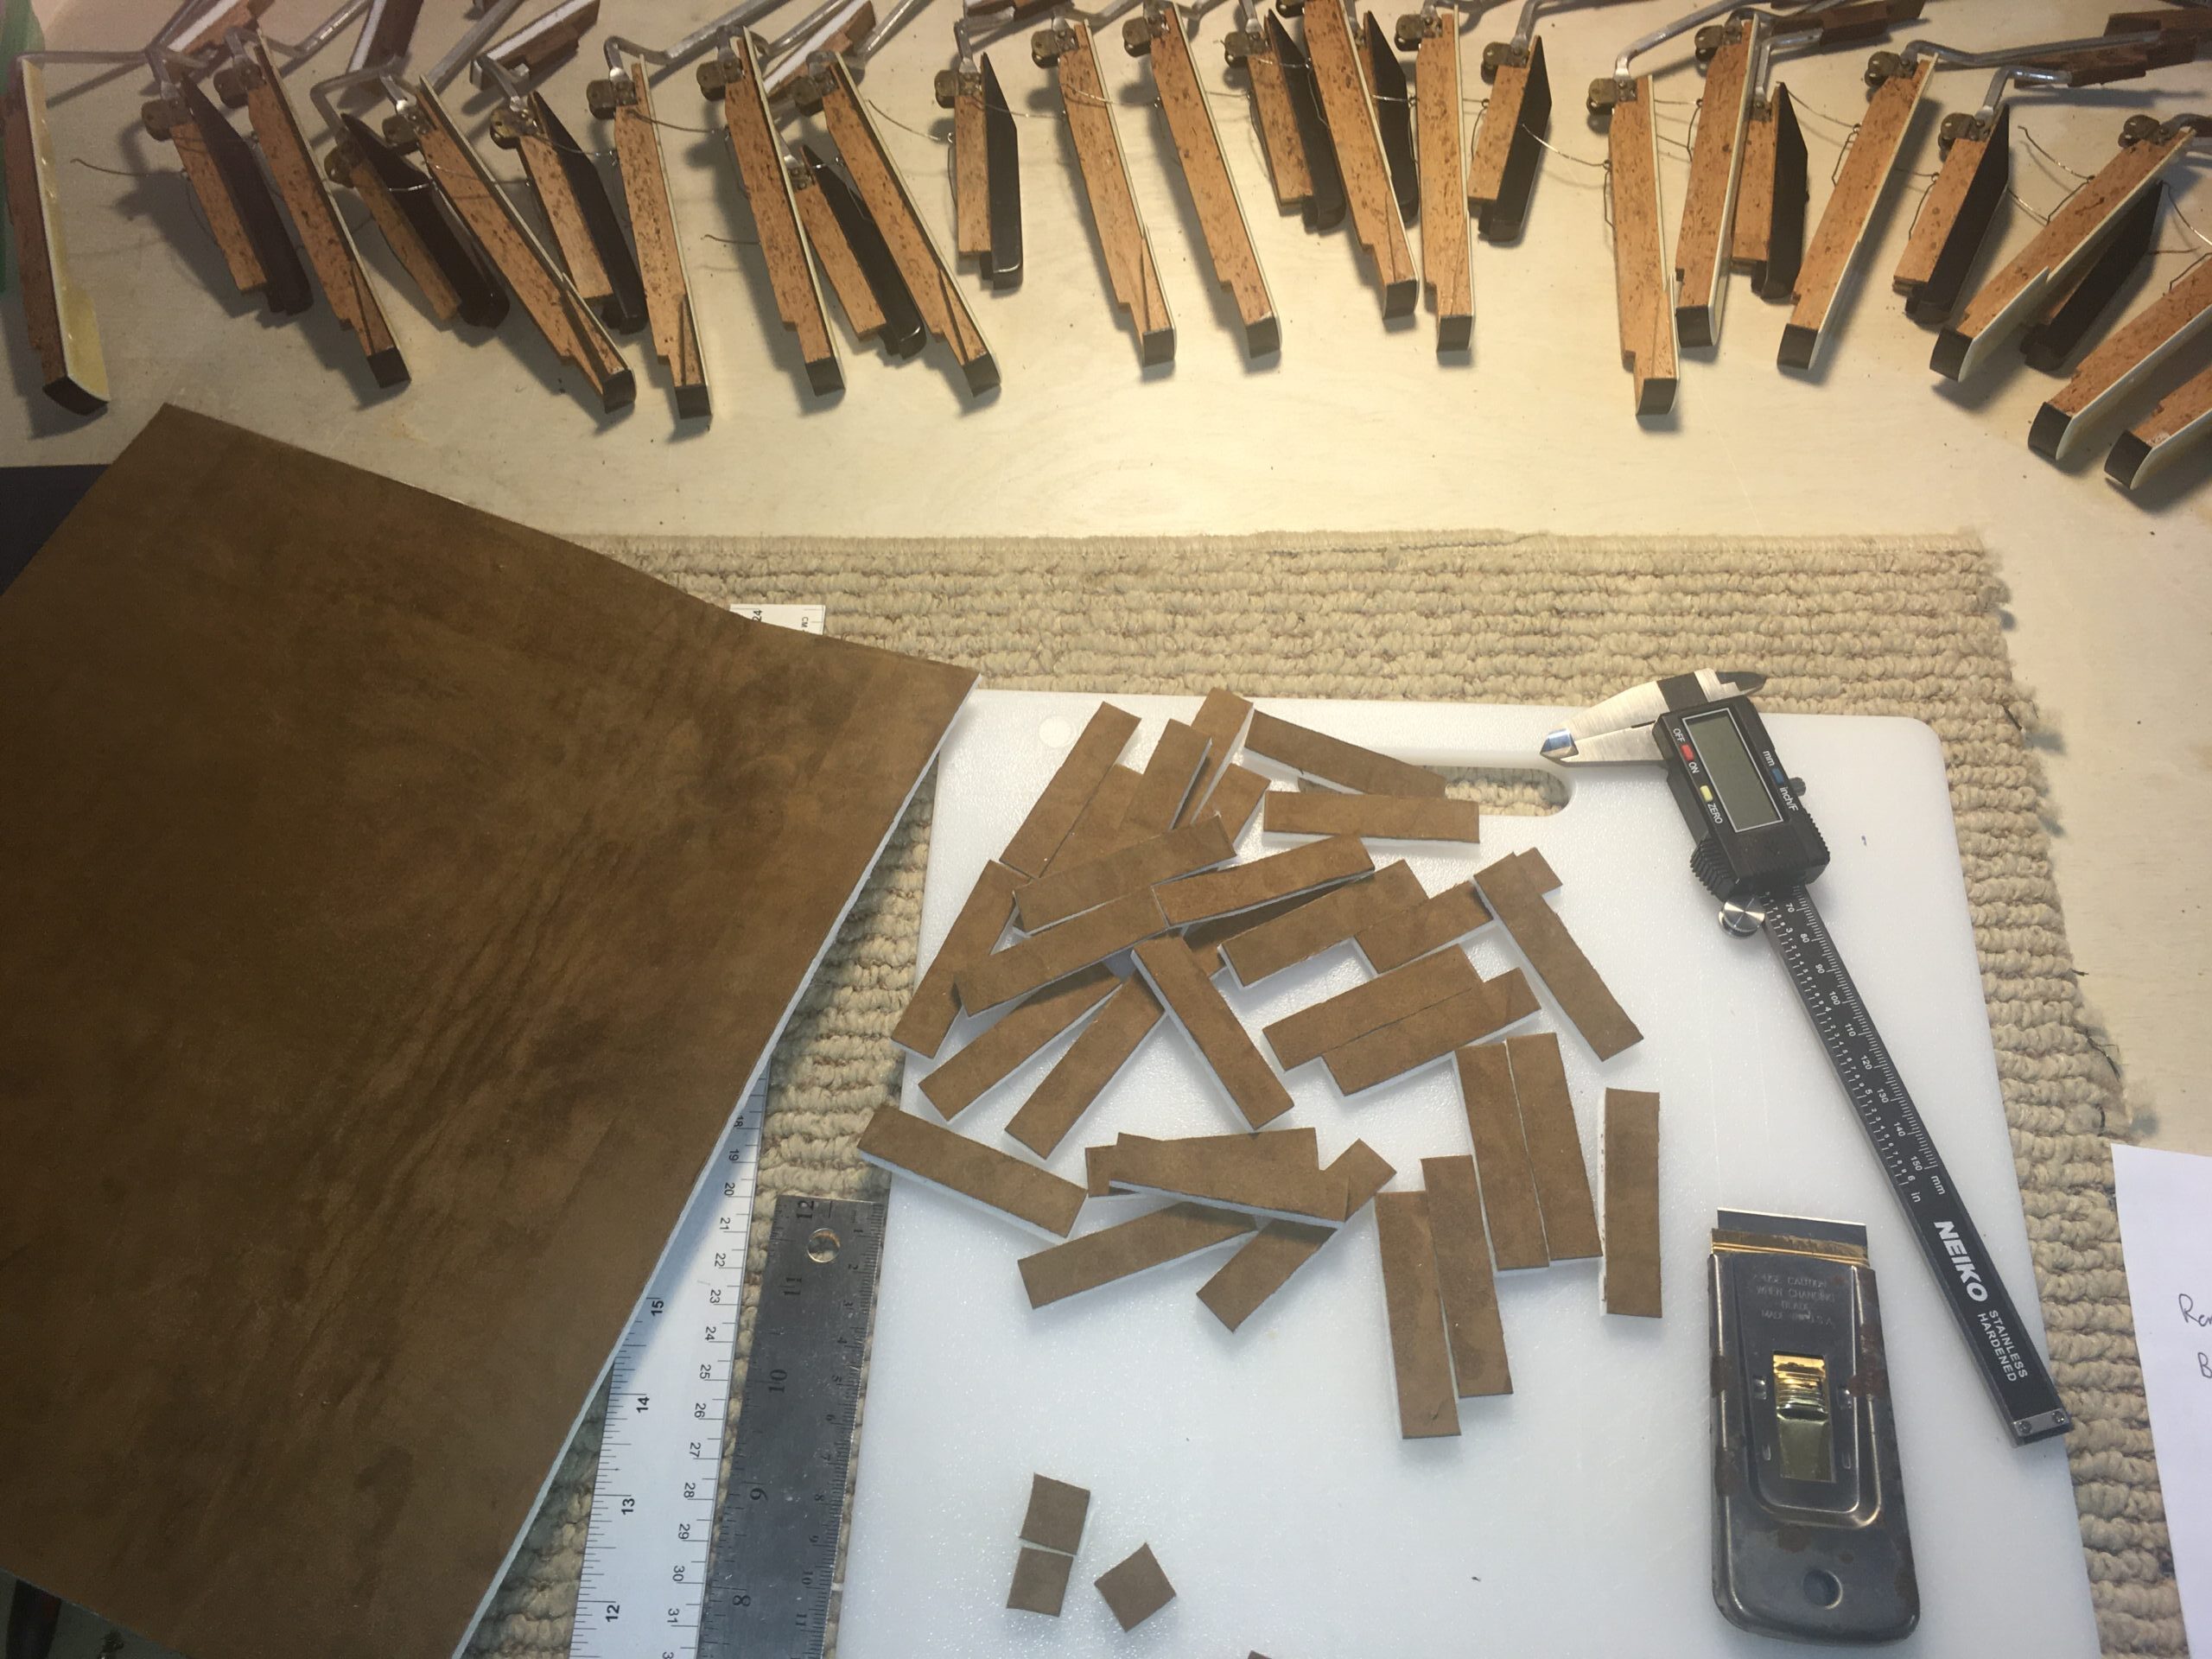
Here are two photos of a keyboard rebuild. All of the leather valve pads were dry and cracked and leaking air. The leather had decayed so much that it had turned into a black powder that covered everything inside the accordion! In the left photo, the treble side of the accordion is in front with all of the keys removed. The keys are arranged around the accordion from the upper left around to the lower right, with the key axles in the middle. In the right photo you can see me cutting new valve pads. The micrometer is to measure the thickness of the valve pads, because the new ones have to be exactly the same as the old ones or else the valves won’t close all the way. (I have four different thicknesses in stock.)
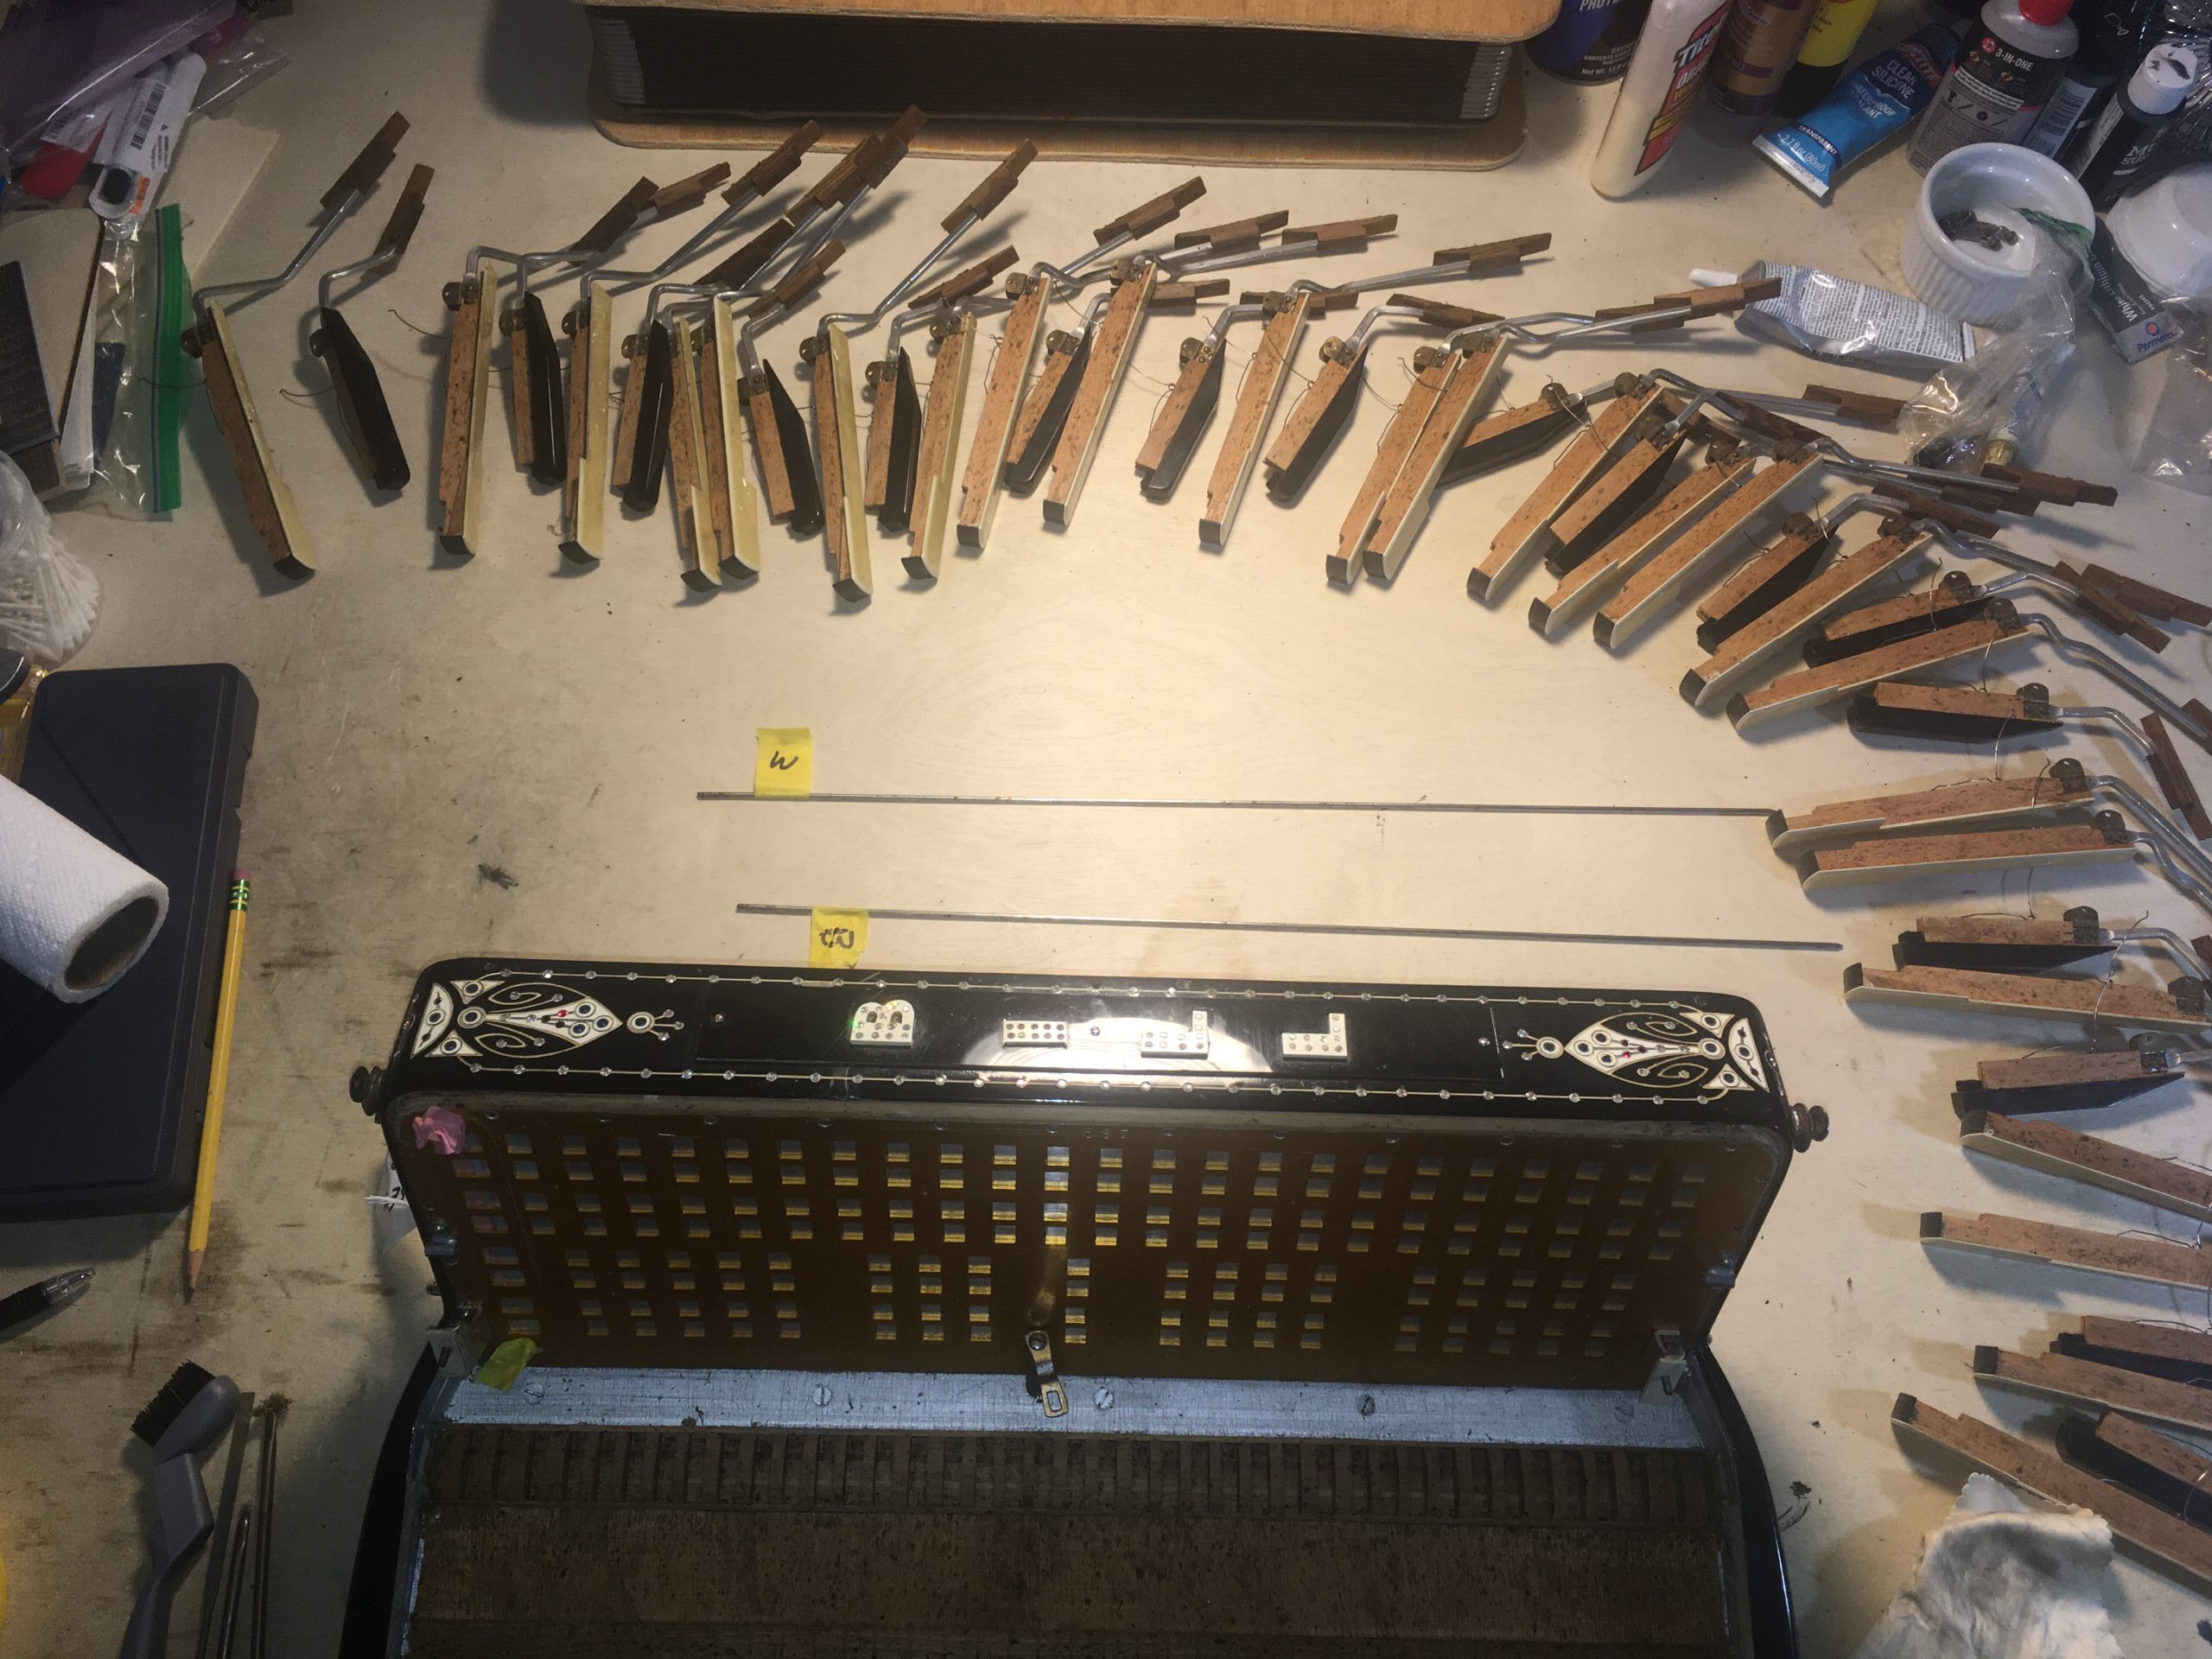
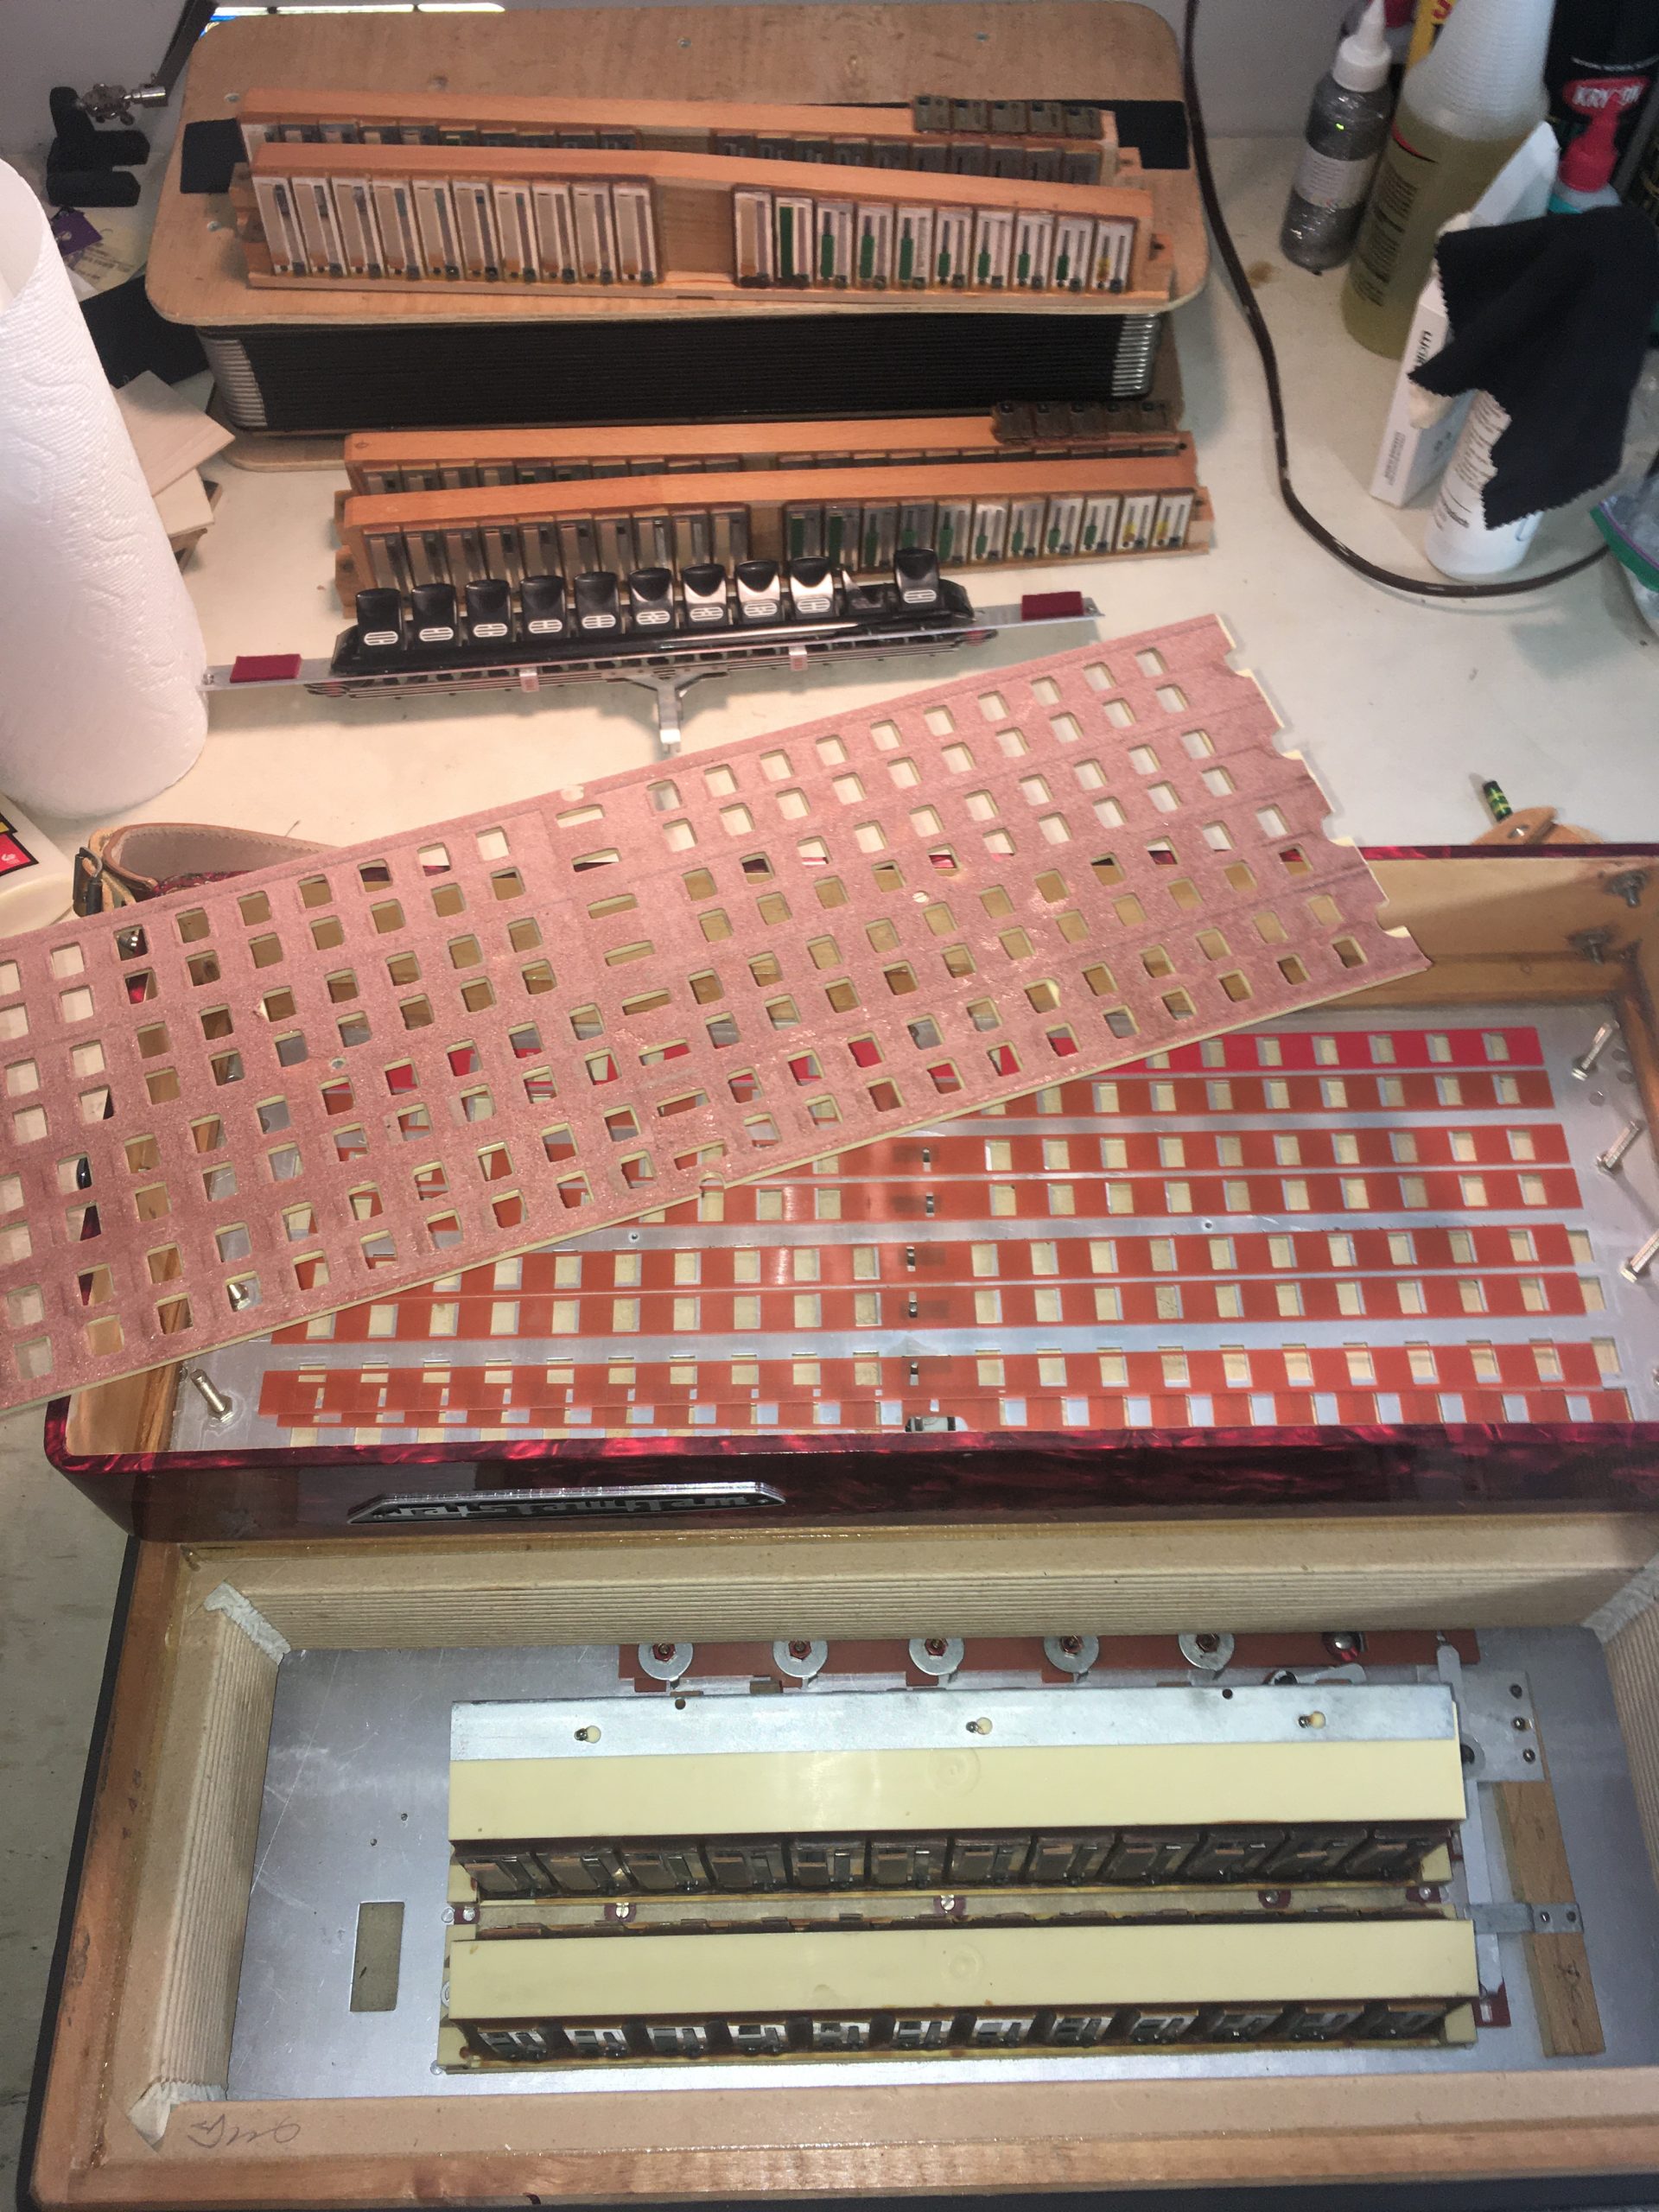
Below is another keyboard disassembly in progress. A white key all the way at the right was sticking down, and this is often the only way to fix it–you have to remove the long axle that passes through all of the keys. This wasn’t a complete rebuild because I didn’t replace the pads or anything else, I just cleaned the axle and the base of the key. You can see the key axle sticking out at the right; it’s a long metal rod that goes the full length of the keyboard. You remove the keys one by one, from left to right. This is why it can be expensive to repair even just one sticking key, especially if it’s all the way at the right of the keyboard. On some accordions, there isn’t an axle and each key can be removed and inserted independently. Repairing one of those sticking keys is easy by comparison!
On the accordion below, the bass register shifts weren’t working. The problem was that the metal had corroded and locked up the register shifts. The repair required a deep cleaning of the foundation plates and register slides. In most cases, when a register shift isn’t working, it’s an easier repair. But sometimes it can be expensive; it’s often hard to know until I start the job and get a ways into it.
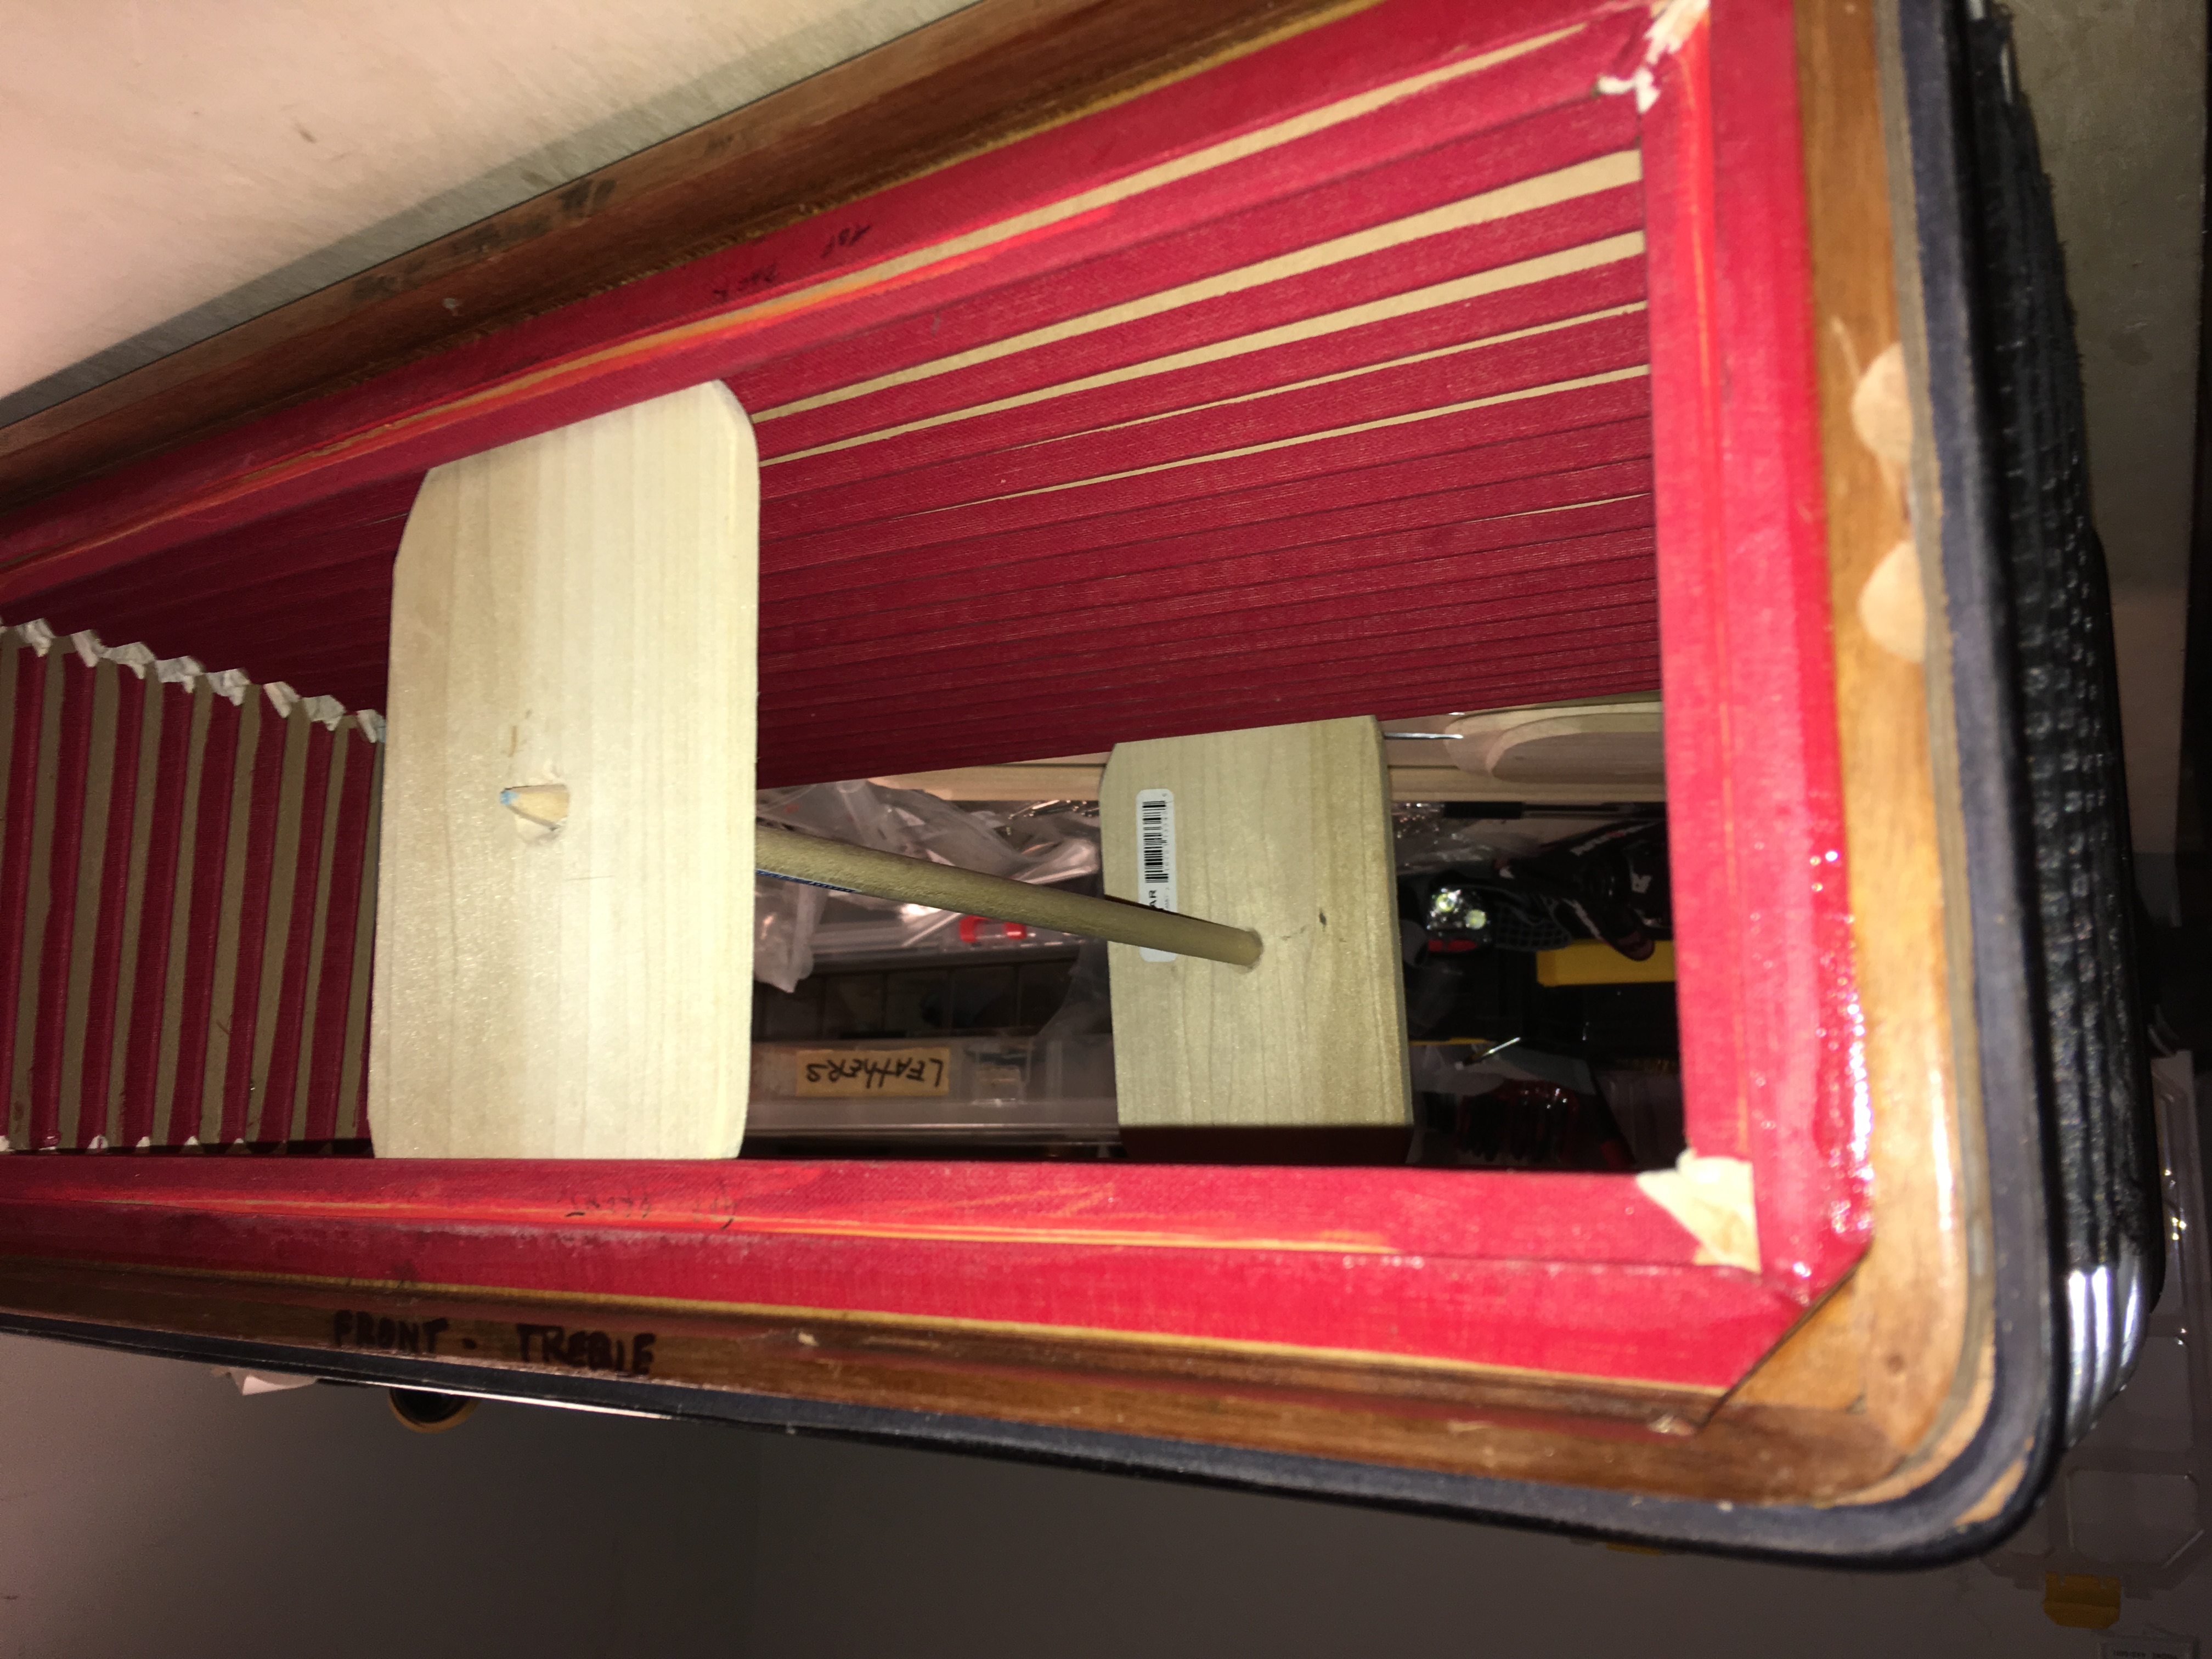
The bellows below is held open with my handmade bellows tool, while I replace a missing bellows corner and patch some damaged bellows tape. This is one of those tools you can’t buy, you just have to make it yourself. I have four different sizes of end rectangles and four different rod lengths so I can work on any size bellows. If your bellows smells of mold or mildew, it’s basically impossible to remove the smell completely. But I can make it a lot better: I’ve discovered a technique that does a better job than anything else, a trick that I learned from a rare book librarian who uses it to preserve pages that are hundreds of years old.
This accordion’s treble side case had a 1-inch crack. Sometimes that can’t be repaired, but I was able to position the two clamps just right and set it to dry overnight. Now it’s as good as new!

My repair work is guaranteed. Take a look at the guarantee here. Click here to return to the home page.